How to Change Motorcycle Oil – Step-by-Step Guide

Have you ever tried changing motorcycle oil by yourself? Most people never do because it sounds complicating and they’re scared they could mess something up.
Luckily, motorcycle oil changes are a relatively simple process that’s also much cheaper if you do it by yourself. The oil in your engine serves to lubricate and protect it which is why it has to be in great condition. Lots of stuff can get in there eventually affecting your performance, so you should change it regularly.
The entire process is quite simple as you’ll see in the article below where we’ll guide you through it step by step.
Prep Work
There are a few things you should do before you drain the lubricant. The prep steps are important because they make the process even easier and allow you to do complete it rather quickly.
Read more about how often to change your oil here.
Check oil level and quality
The state and level can indicate a problem. If it’s low, you might be burning or leaking it. Anything like metal particles or white oil can also be a problem that could eventually ventilate the engine case.
Scrutinize this and continue only if you’re sure nothing indicates a problem that needs immediate tackling. Some things might show a more significant issue which is also one of the reasons why you should check this regularly.
If all is clear, you can move on to change the lubricant. The process might be a bit different depending on the kind of filter you have and whether or not you have a dry or wet sump. However, in most cases, the process is quite similar and straightforward for all of the above.
Gather your materials
The first thing you’ll need is engine oil (our top rated picks are here). Check your vehicle’s manual for the type and quantity you need. It almost always pays off to buy some extra for just in case. Even if you don’t end up using it now, you can use it in order to top up your oil later.
Considering regular or synthetic? See the guide to help determine the pros and cons of both.
You’ll also need a filter that fits your specific engine (find the best filters here). You can always get one from the manufacturer or a dealer if you’re uncertain about what to buy. This can sometimes be much cheaper than buying a third party filter. You also want a filter removal tool that matches the exact filter you have.
Get a sump washer as well, even if the old one looks alright. The tray is another thing you cannot go without since it’s where you’ll collect the lubricant. Anything will work really as long as it’s wide and shallow. Having a tray with a spout in one of its corners is quite helpful.
You’ll need a funnel to easily fill the engine, and a wrench and socket for removing your drain plug. Torque wrench might also be handy as well as gloves since the oil you’re extracting is probably hot. Some wood blocks are also recommended to put under your side stand for leveling.
These are some of the materials we think are necessary. Using anything other than that is completely optional as long as you think it could make the process even easier for you.

Drain the oil
The first thing you should do is take your bike for a ride for at least five to ten minutes. This will warm the fuel in your engine essentially making it easier to work with. Once you’re back from your ride, rest the vehicle on the side stand and avoid touching any hot parts.
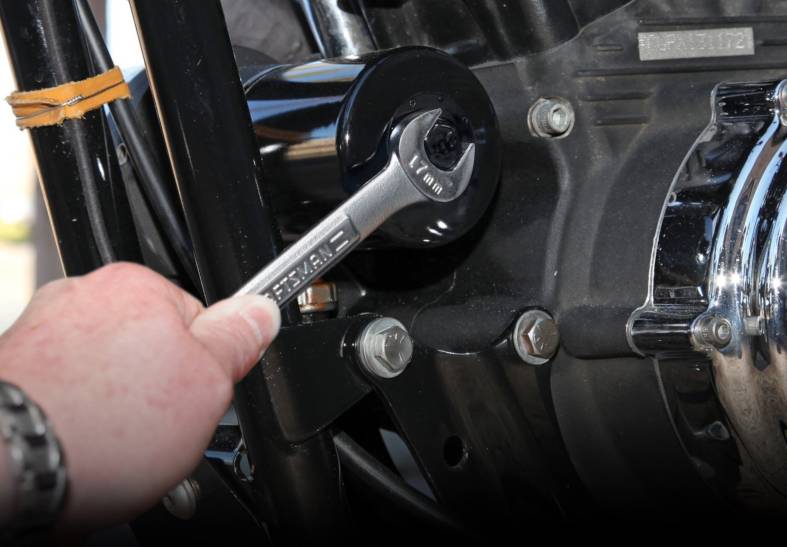
Put on the gloves and slide the dish under the drain plug. Use the wrench and socket to remove the plug by simply turning it anti-clockwise. Remove the washer when you’re there.
Now just wait for the dirty liquid to pour out. The process can sometimes take a while so you can walk away from your bike and return when it’s all done. If you do so, make sure the ignition is immobilized. It’s an essential step because you might forget there’s no oil in your engine once you return to the bike.
If you don’t like the idea of leaving your motorcycle and the draining oil, you can use the time to clean the magnetic drain plug. If you don’t have one, use the time to replace the sealing O-ring, plug gasket or crush washer. You can really do anything you’ve meant to do on your bike but haven’t had the time.
When it has drained, you can reinstall the plug and torque.

Remove and replace the filter
This is the right time to replace the filter regardless of whether you have an internal or a spin-on kind. If you have a spin-on, make sure also to remove the sealing o-ring. Use a cloth to clean the mating surface.
If you have an internal filter, keep in mind the order in which the pieces come out. There’s a little spring that keeps everything under a bit of tension so make sure you’re prepared for a little explosion as well.
Removing the filter is only tricky if it’s hard to access. However, you can use various tools depending on the particular bike you have. The best thing to do is research some videos online where people remove filters on the same vehicle you own as well.

Make sure to remember to replace all the sealing o-rings if you have an internal filter. In most cases, you get new ones with the new filter. On the other hand, lubricate the spin-on filter gasket with some engine lubricant before you install it.
If the opening of your external filter faces up, make sure to pre-fill it with some fresh oil. This will shorten the time the bike runs with no lubricant at all.
All of this is extremely important, and you should do it each time you’re changing the oil on your bike. Even if you think the filter looks good and can go on without changing, it’s recommended you replace it anyway since it probably isn’t as good as it’s looking.
Refit drain plug
When all of the old oil is out of the engine, you should refit a new washer to the drain plug. Screw the plug into your sump with your hand and make sure you tighten it well. You should also use the torque wrench to tighten it fully, so it’s securely into place. If you’re unsure about how much to tighten, use the manufacturer’s recommended setting and you won’t be wrong.

Fill up with new oil
Check with your manual to see what’s the correct amount and viscosity for your bike. Start the vehicle and check the oil pressure.
Once lubricant has filled the filter and ran through the engine, turn off the vehicle and recheck the level. Don’t forget to refer to the manual because the levels could be way off without you knowing at all. Some bikes you can check in a vertical position while others can only be read when on the side stand.
Either way, make sure the level isn’t too low but also keep in mind that too much is equally as bad. If it hits the spinning crankshaft, it will turn into foam which won’t lubricate. If you do overfill, take some time to drain the excess or else you’ll have to rebuild the engine.
The process itself isn’t as complicated but should be done with care and attention. Take your time with it.
Check oil level
Once you’re all done, you should do a final checkup of the oil level. Start the engine, then let it work for approximately five minutes. Turn it off and get the vehicle onto a level surface to recheck the level. Add more or drain the excess if you need to.
It’s also recommended you check the level again on the first proper ride you take after changing the oil.
Conclusion
All that’s left now is for you to enjoy and take pride in the work you’ve done. We’re sure you thought oil changes were more complicated than that.
If it’s your first time doing it on your own, you can check the levels again after a few rides just so you’re sure. With every next time you do it, you’ll be more confident and find the entire process even easier.
It’s important you have all the tools at hand before you start working, and of course, take your time with everything. Keep checking the manual and this guide as many times as you need to until you master the technique.


